About the header image
No Shelter 13 website would be complete without its iconic shelter; this one is no exception.
The header image is a modern recreation of the original Shelter 13, which was created sometime around 2005. For the redesign, a new header image was necessary, but unfortunately, the original model has been lost. I took the opportunity to recreate it from scratch. Unlike the original, which was modelled using Maya 2.5 and post-processed with Photoshop 7, the new version was created using free tools.

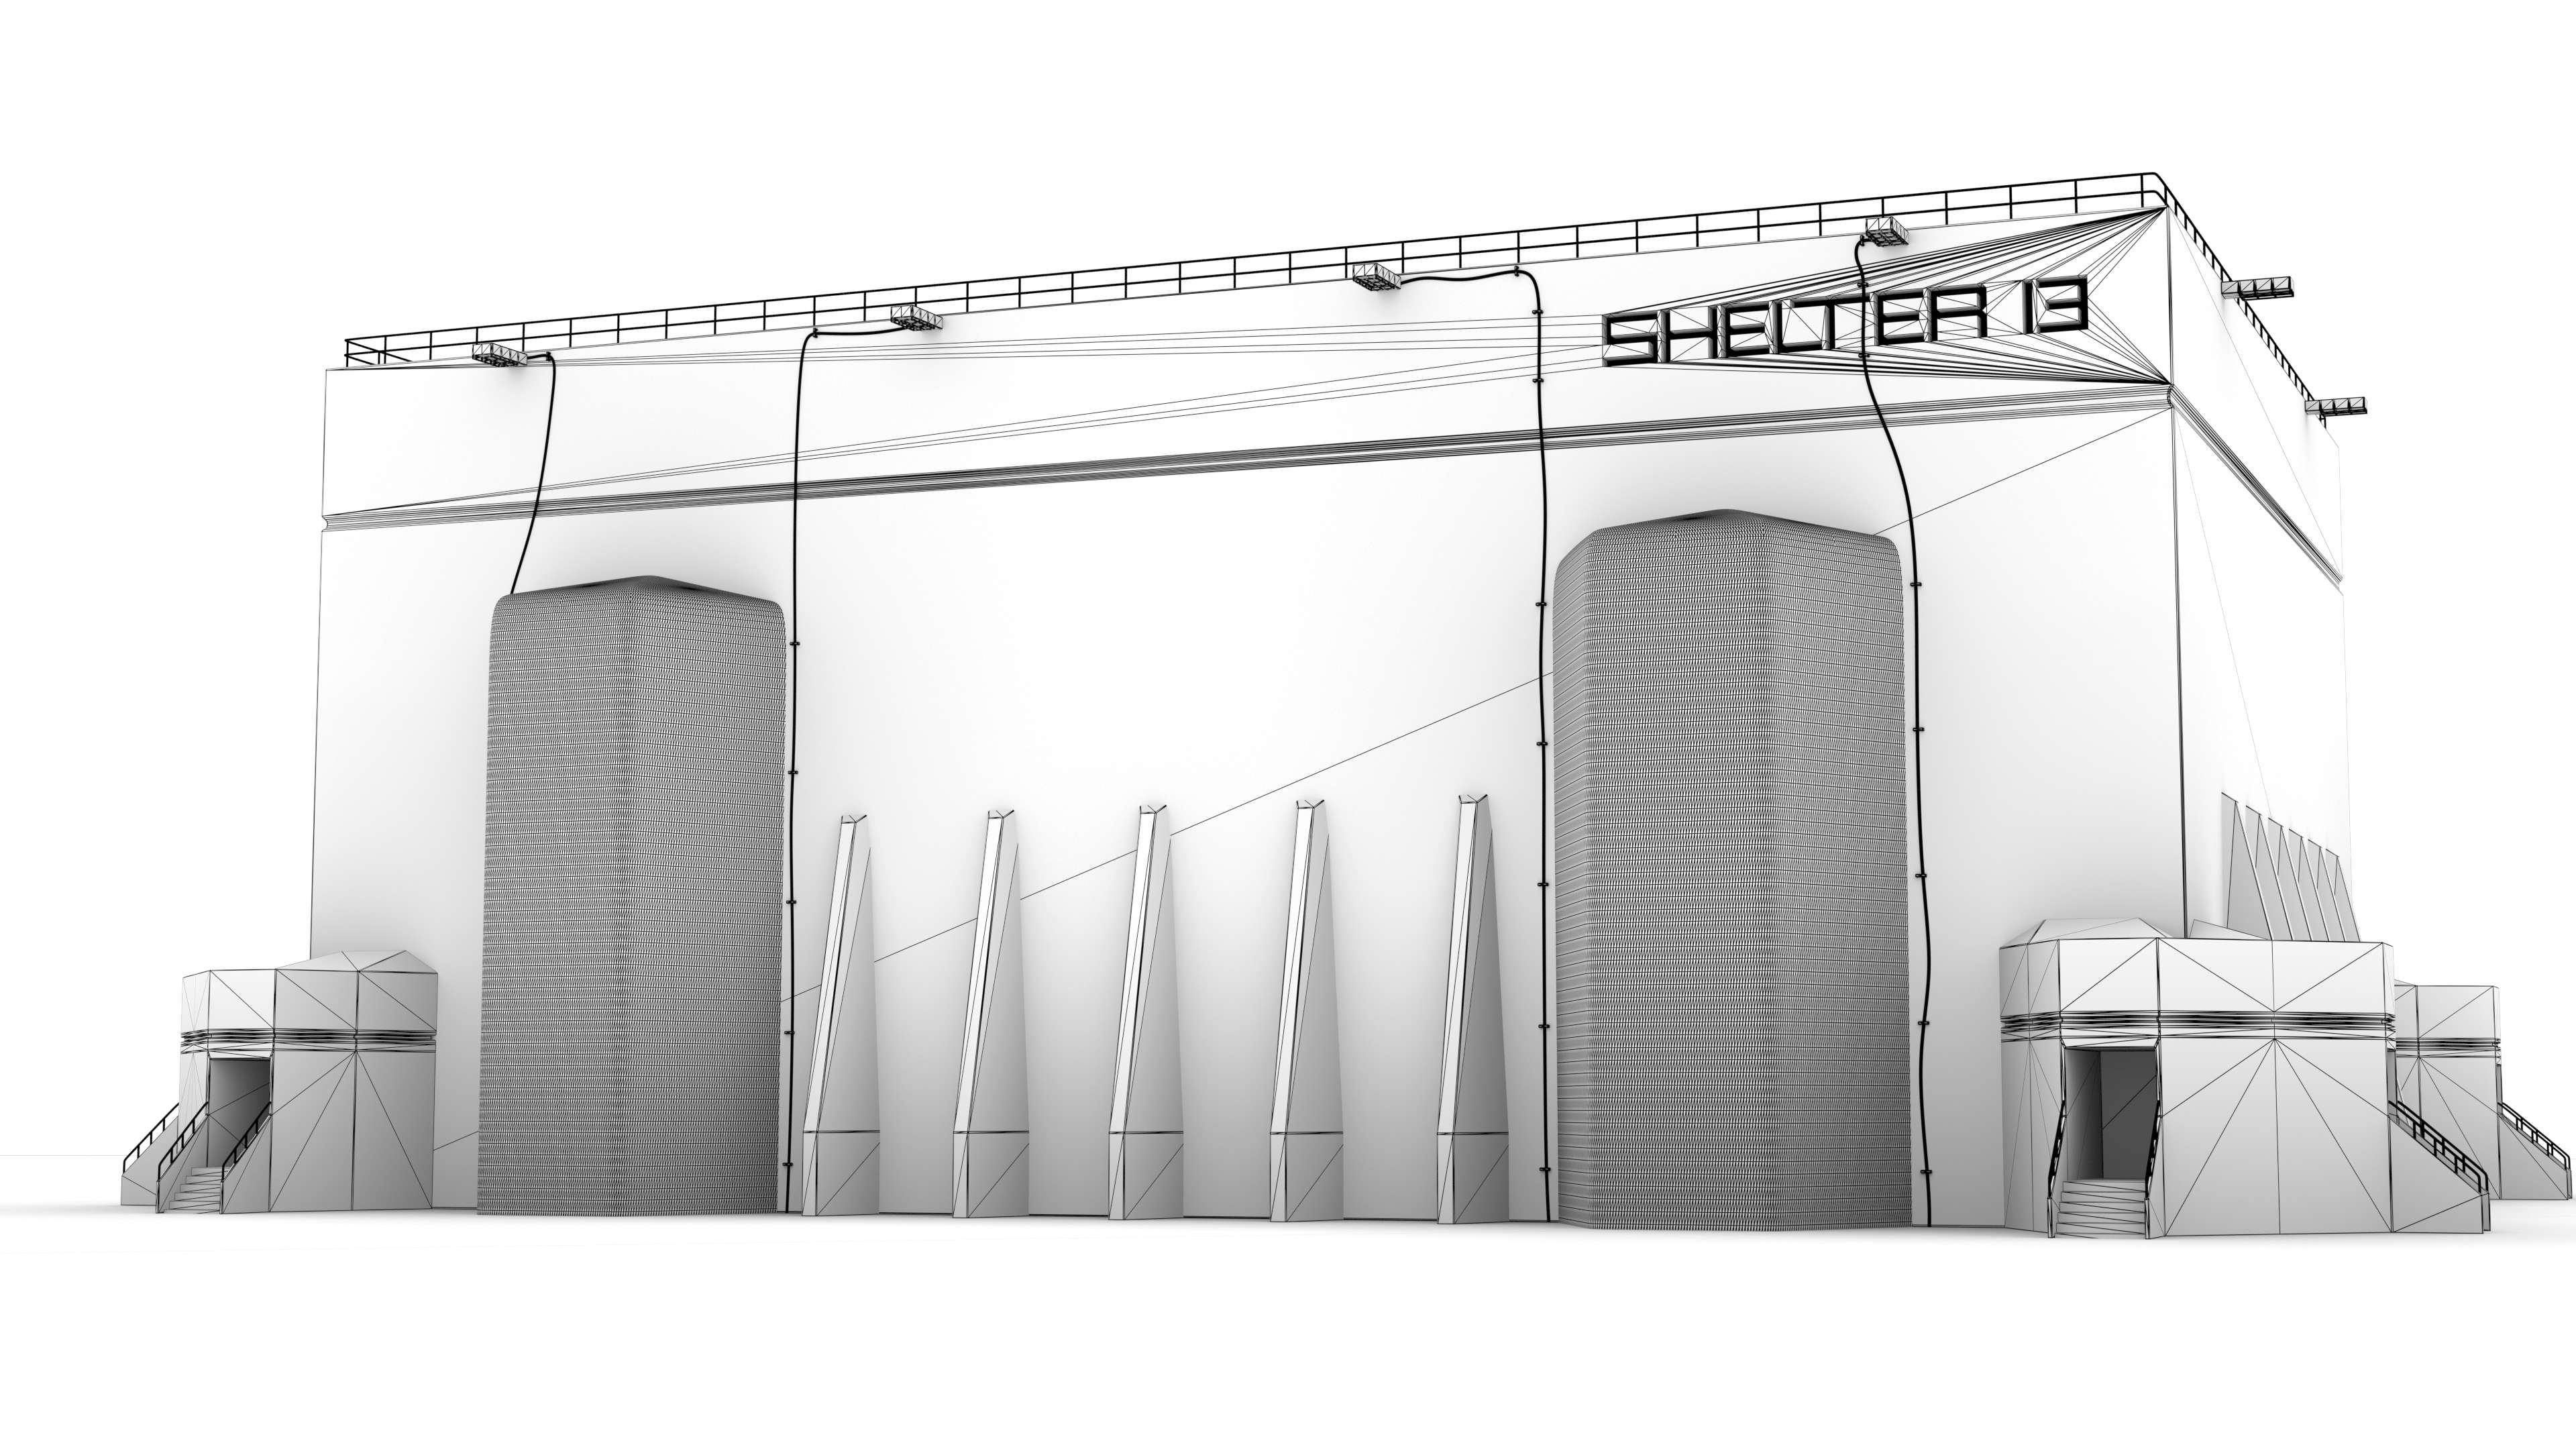
The recreation is done completely using Blender 2.71. The recreation from scratch took me roughly 30 hours which also includes a few hours of getting familiar with Blender. The mesh is mostly built of polygons, except for the rails which are all NURBS and the front elements of the shelter which are subdivision surfaces. I’ve rebuilt the mesh twice: Once using Blender 2.63, which has been the version used on the website until July 2014, and in 2014, again using Blender 2.71.
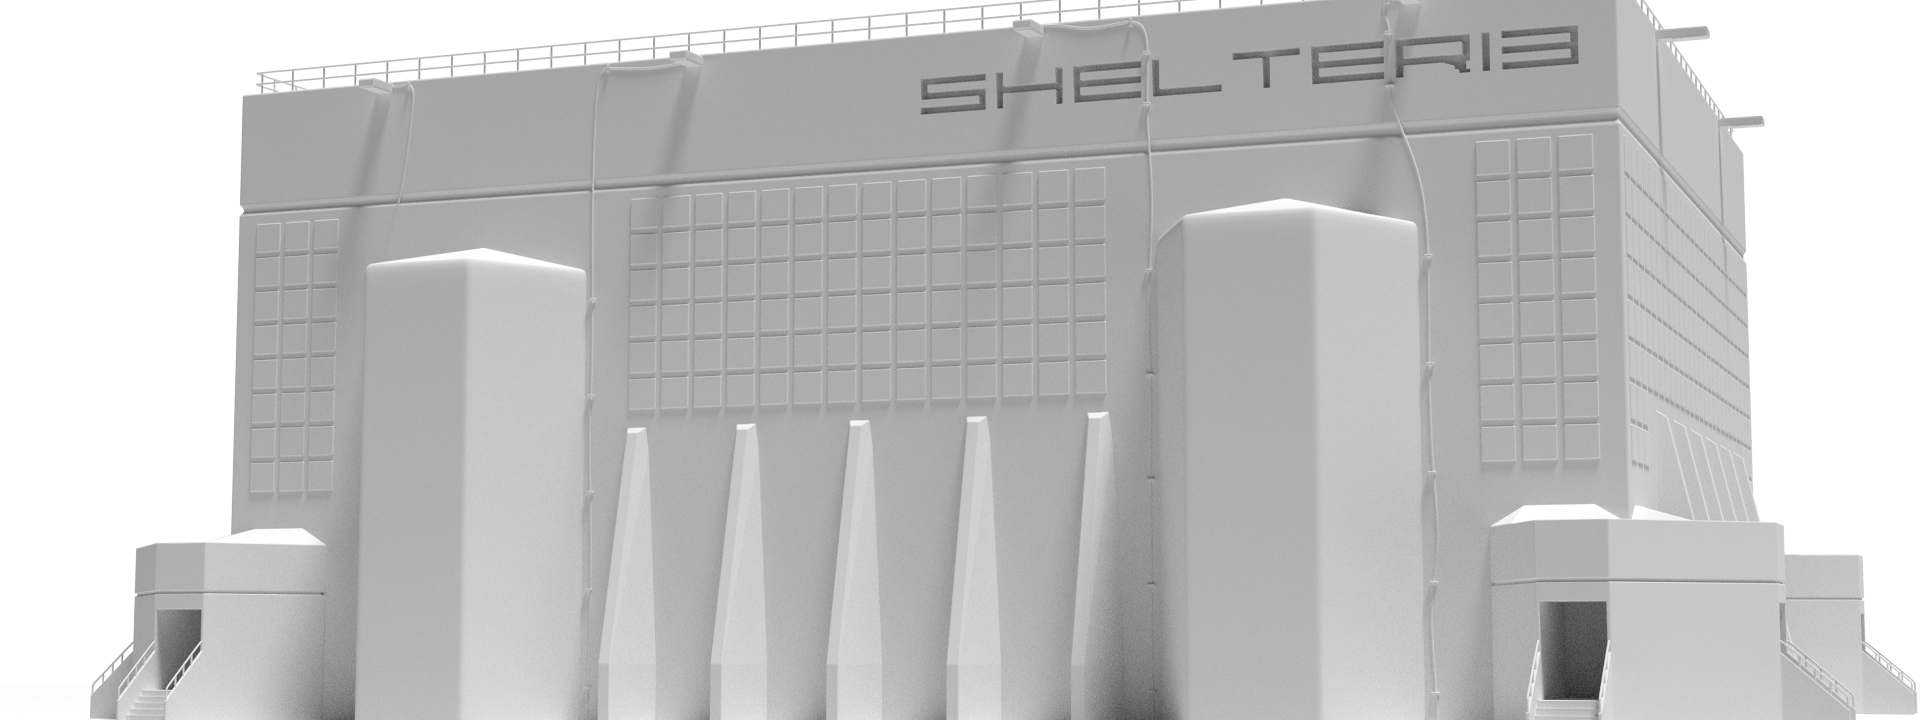
The text is created directly in Blender as individuals polygons. Using a boolean operation, it is carved out of the shelter mesh. In the original image from 2005, this has been done completely in post without actually modifying the geometry. Using actual geometry, the text fits better into the scene as the interior sides are slightly bevelled and capture highlights. The armour plates on the front are created with a single bevelled plate which has been duplicated and instanced using the array modifier, combined with mirroring to reduce the amount of instances and make the placement easier. I’ve used instancing and parenting to empty nodes extensively for easy object placement and efficient rendering.
The scene is lit by seven lights: The six lights at the top of the building and the orange-yellow glow inside the “Shelter13” engraving. The rendering itself is done using Blender’s built-in path tracer, Cycles. No textures are used for rendering, all materials are fully procedural and mapped without UV mapping. The shelter itself uses a gray-ish concrete, which is color graded in the post-processing.
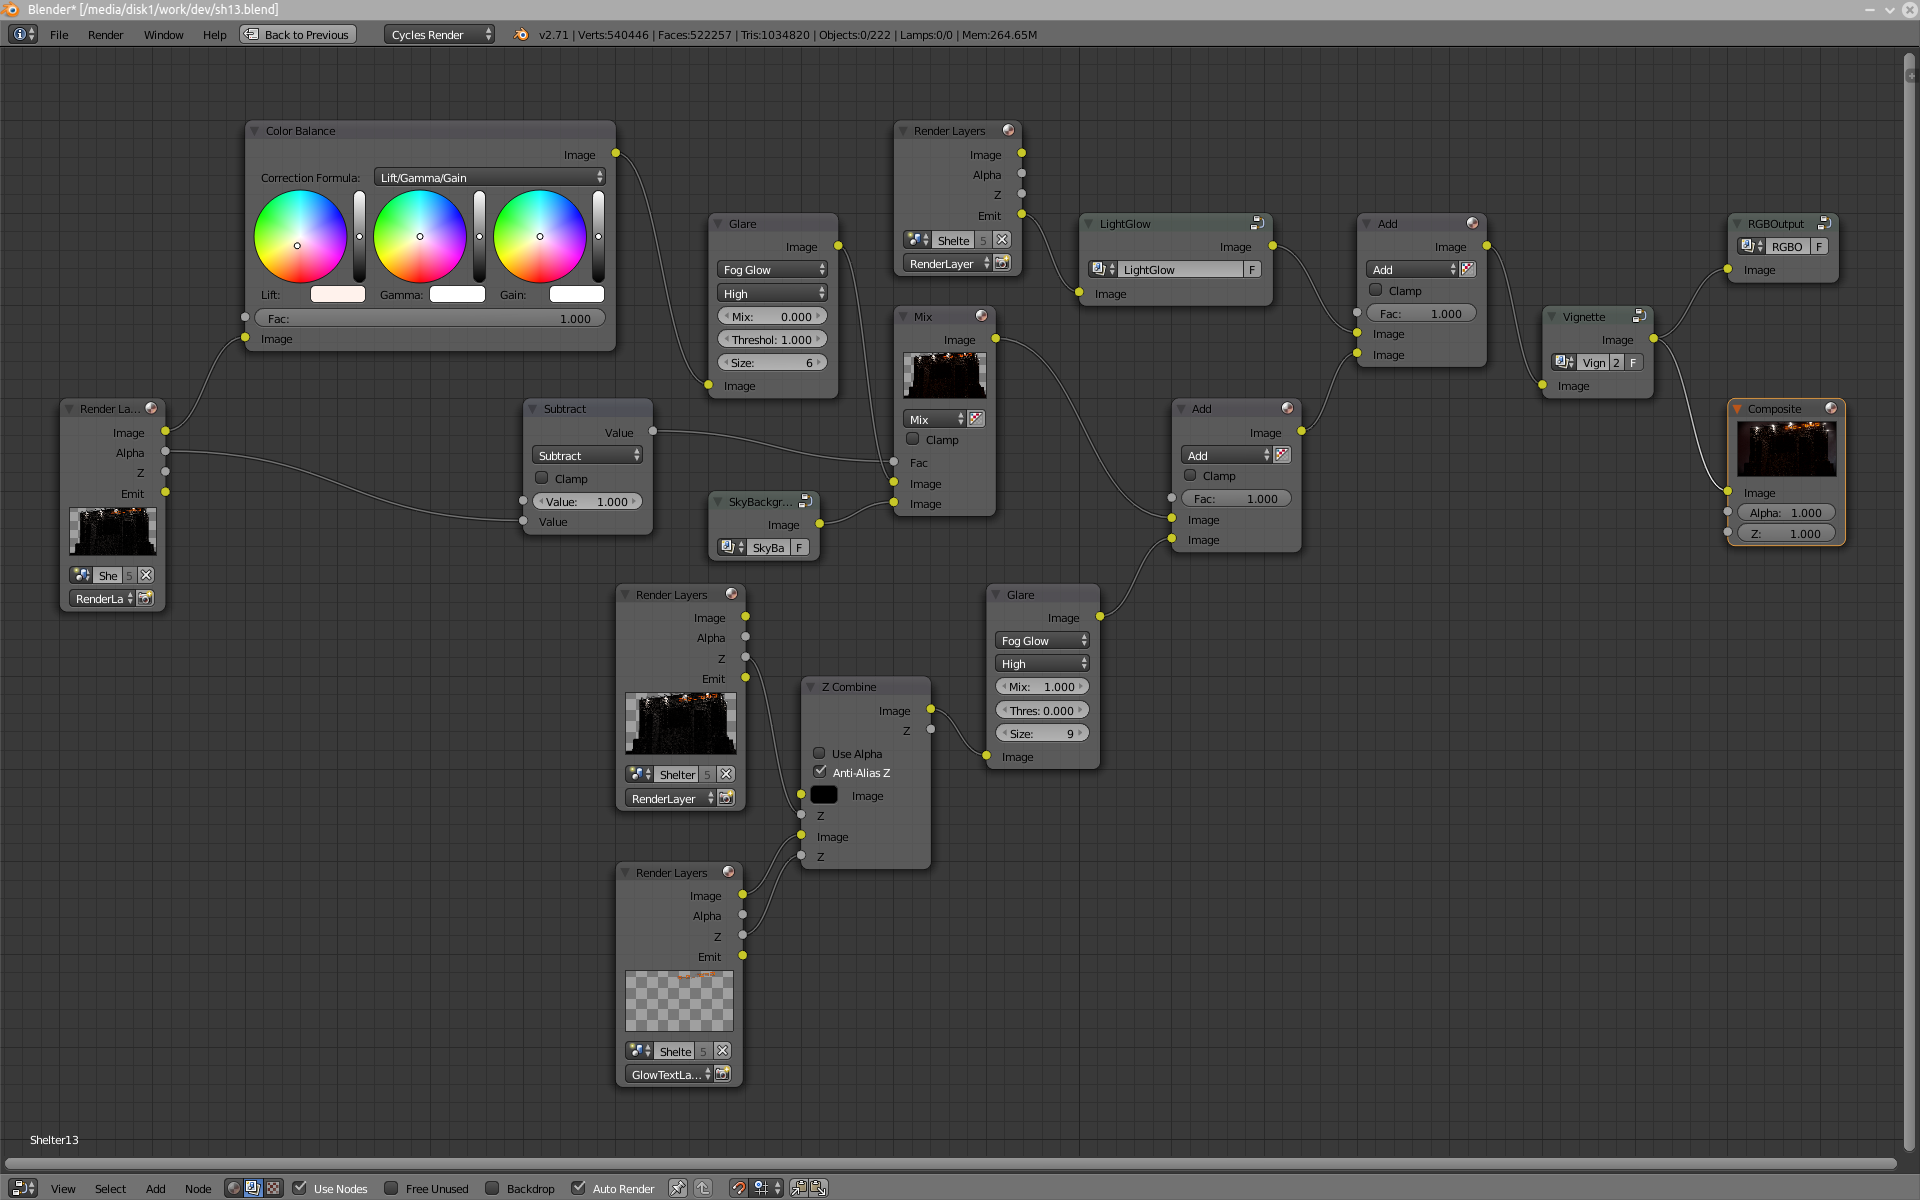
The sky backdrop is a photograph of clouds, colour-corrected using curves and cropped to the render size. It is composited using the original alpha-channel and darkened using a vignette. The cards are blurred and glares are added on top of them, before the image is blended onto the base layer. The image was rendered without anti-aliasing at 1920×1080 and rescaled. Rendering time was 14 minutes on a dual six-core PC.
In 2021, I did another pass using Blender 3.0. The main changes are:
- New materials for most of it
- New light geometry
- Updated instancing to use geometry nodes
- Rendered in 3840×2160 with many more samples
- Removed the plates on the front/side